Hello,
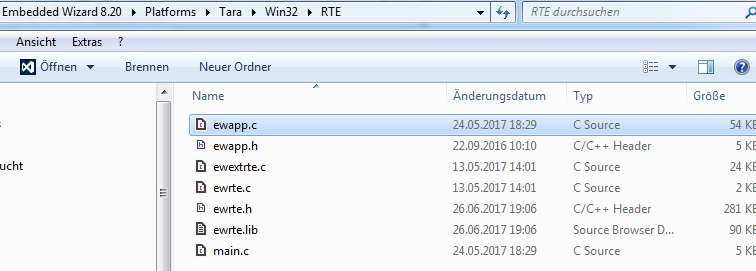
please take a look into the directory Platforms\Tara\Win32\RTE relative to the Embedded Wizard installation directory. In this RTE directory you see the file ewapp.c:

The file ewapp.c contains code to create the window and to dispatch windows events to the Embedded Wizard GUI application. You can create a copy of this file within your own project folder and modify it. Then use this modified file in your Visual Studio project instead of the original file.
Once you have copied the file ewrte.c to your project folder, open the file for editing in e.g. Visual Studio. Look in the file for the function EwOpenViewer(). This function creates the window. Just at the beginning of the function you see declaration of the variable style and exStyle. Actually the variables are initialized with values to enable window borders and caption:
void EwOpenViewer( XObject aRootObject )
{
  DWORD     style   = WS_OVERLAPPEDWINDOW;
  DWORD     exStyle = WS_EX_CLIENTEDGE;

  ...
To hide the borders and the caption change the initialization of the variables to:
void EwOpenViewer( XObject aRootObject )
{
  DWORD     style   = WS_VISIBLE | WS_POPUP;
  DWORD     exStyle = 0;

  ...
The constants WS_OVERLAPPEDWINDOW, WS_VISIBLE, WS_EX_CLIENTEDGE, etc. are documented in Windows Styles and Extended Windows Styles of Microsoft Win32 API. Understanding the different flags allows you to configure precisely how the window should appear.
Best regards
Paul Banach